Emulating hardware with Netduino
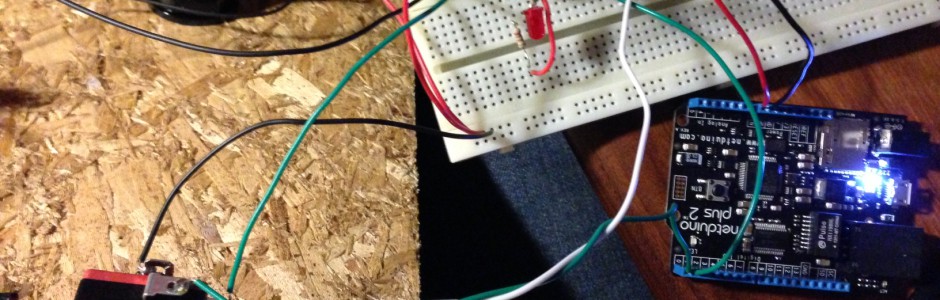
The other day I was working on a Netduino game, where I constructed some hardware buttons, leds and a display. For my Netduino code I had developed a set of classes, like Led, Button and Display to handle the hardware I was using.
I was about to go on a train ride and I thought I could use the time to get some coding done. But I couldn’t bring the hardware, it was too bulky. So then I thought, why not make interfaces for my classes and create one implementation of the classes for the Netduino and one implementation for a simple windows forms program?
For example the implementation for the button for the Netduino would be a digital input pin with a pull-up resistor which would trigger an event, which would be handled by an event handler of the game. The implementation for the windows forms application would be a form button where mouse down would trigger the same event.
The interface for the button could look like this, a bit simplified:
public interface IButton
{
	event ButtonEventHandler OnPress;
}
The Netduino implementation:
public class Button : IButton
{
	private InterruptPort _interruptPort;

	public virtual event ButtonEventHandler OnPress;

	public Button(Cpu.Pin pin)
	{
		_interruptPort = new InterruptPort(pin, true, Port.ResistorMode.PullUp, Port.InterruptMode.InterruptEdgeBoth);
		_interruptPort.OnInterrupt += new NativeEventHandler(InterruptPort_OnInterrupt);
	}

	private void InterruptPort_OnInterrupt(uint data1, uint data2, DateTime time)
	{
		if (this.OnPress != null)
		{
			if (!_interruptPort.Read())
			{
				this.OnPress();
			}
		}
	}
}
The Netduino constructor needs the pin to which the button is connected to. Note that this is simplified for this example, you may need to keep track if the button changed from released to pressed state (using the pull-up resistor Read() returns false when the button is grounded, which means it’s pressed).
The button implementation for the windows forms application:
public class MockButton : IButton
{
	public event ButtonEventHandler OnPress;

	public MockButton(System.Windows.Forms.Button button)
	{
		_button = button;
		_button.MouseDown += new System.Windows.Forms.MouseEventHandler(Button_MouseDown);
	}

	void  Button_MouseDown(object sender, System.Windows.Forms.MouseEventArgs e)
	{
		if (this.OnPress != null)
		{
			this.OnPress();
		}
	}
}
Again this is simplified for educational purposes, in my real code the event is not called OnPress but OnStateChanged, because I want to know when the button is release too, and I pass things to the event handler.
So I thought I could put the interfaces, and the game logic code in a class library. But I never got this working because the .Net micro project could not reference a .Net 4 framework class library. Maybe there are obvious solutions to this problem that I’m not aware of (if there is, please let me know), but here’s what I did;
In Visual Studio you can add linked files from another project. So, from the windows forms project I added linked files pointing to the .Net micro project, so for example IButton would be added this way, and then I could make the implementation of the mock button in the forms project.
To add a linked file; in solution explorer, right click and select “Add” and “Existing item…”. Browse to and select the file from the other project. Click the arrow next to “Add” and select “Add As Link”.
Pretty neat. I know there are other solutions as well, like the .Net micro SDK emulator, and maybe other tools like Virtual Breadboard, but this solution did the work for me and it’s dead simple.