A cheap, simple way to make hardware buttons control a computer application
Normally doing this involves a microcontroller like an Arduino, or a Raspberry PI. You connect each button to a pin, write some code on the microcontroller, and then find a way to interact with the computer application, for example by webservices, websockets or serial communication via USB. It can be quite some work, expensive and not that fail-safe.
What you can do instead it to just rip apart a computer keyboard and use it as an interface between the hardware buttons an the computer application. Incredibly simple and cheap, incredibly fail-safe, and standards compliant.
Here’s how to do it:
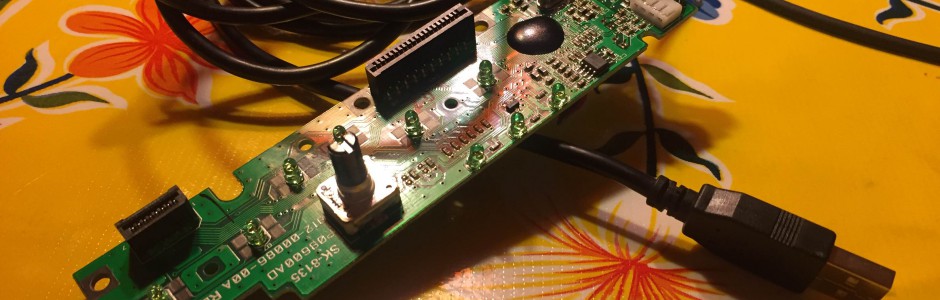
Take a standard USB PC keyboard and open it up. Below the buttons you will most likely find a layer of rubber and below it a sheed of membrane buttons. Just rip the membrane sheet away from the sockets on the circuit board. Throw everything away except the circuit board with the USB connector.
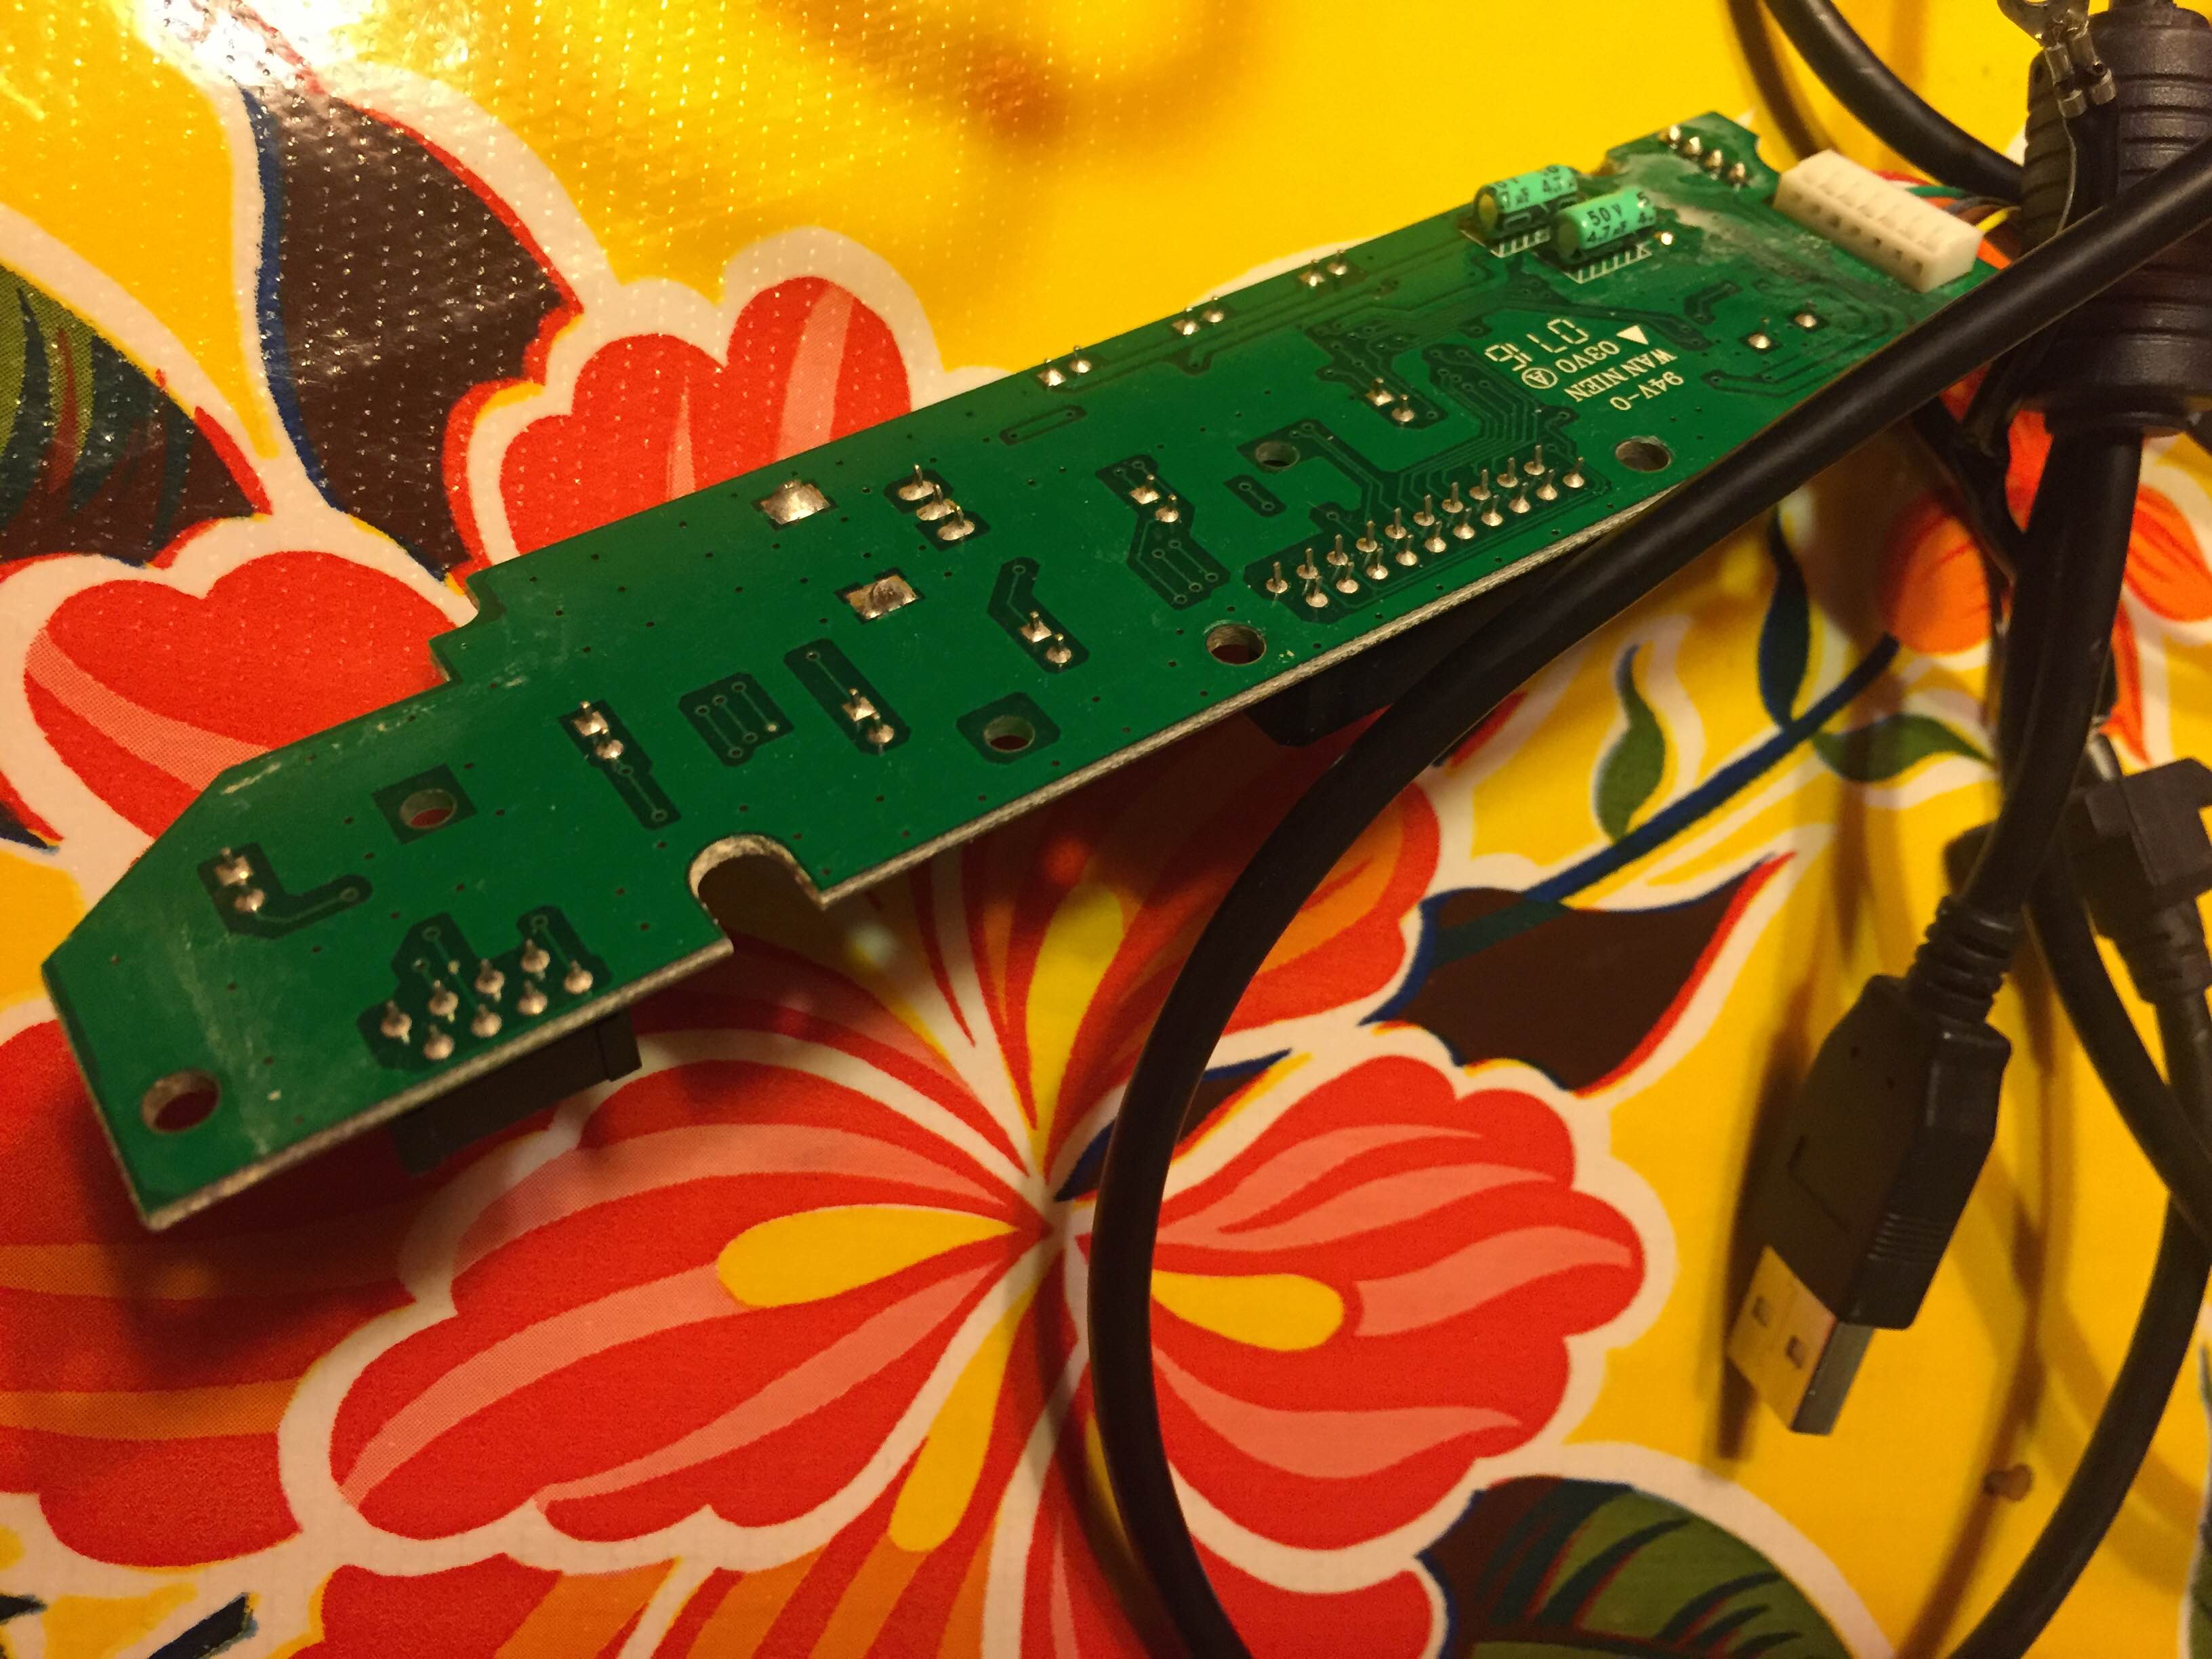
The membrane sheet is a matrix circuit which has rows and columns. When a row and a column are shorted they form an electrical circuit which makes the keyboard understand which button is pressed. On the circuit board you just ripped out you will probably see one group of solder pins for the rows (fewer) and one for the columns.
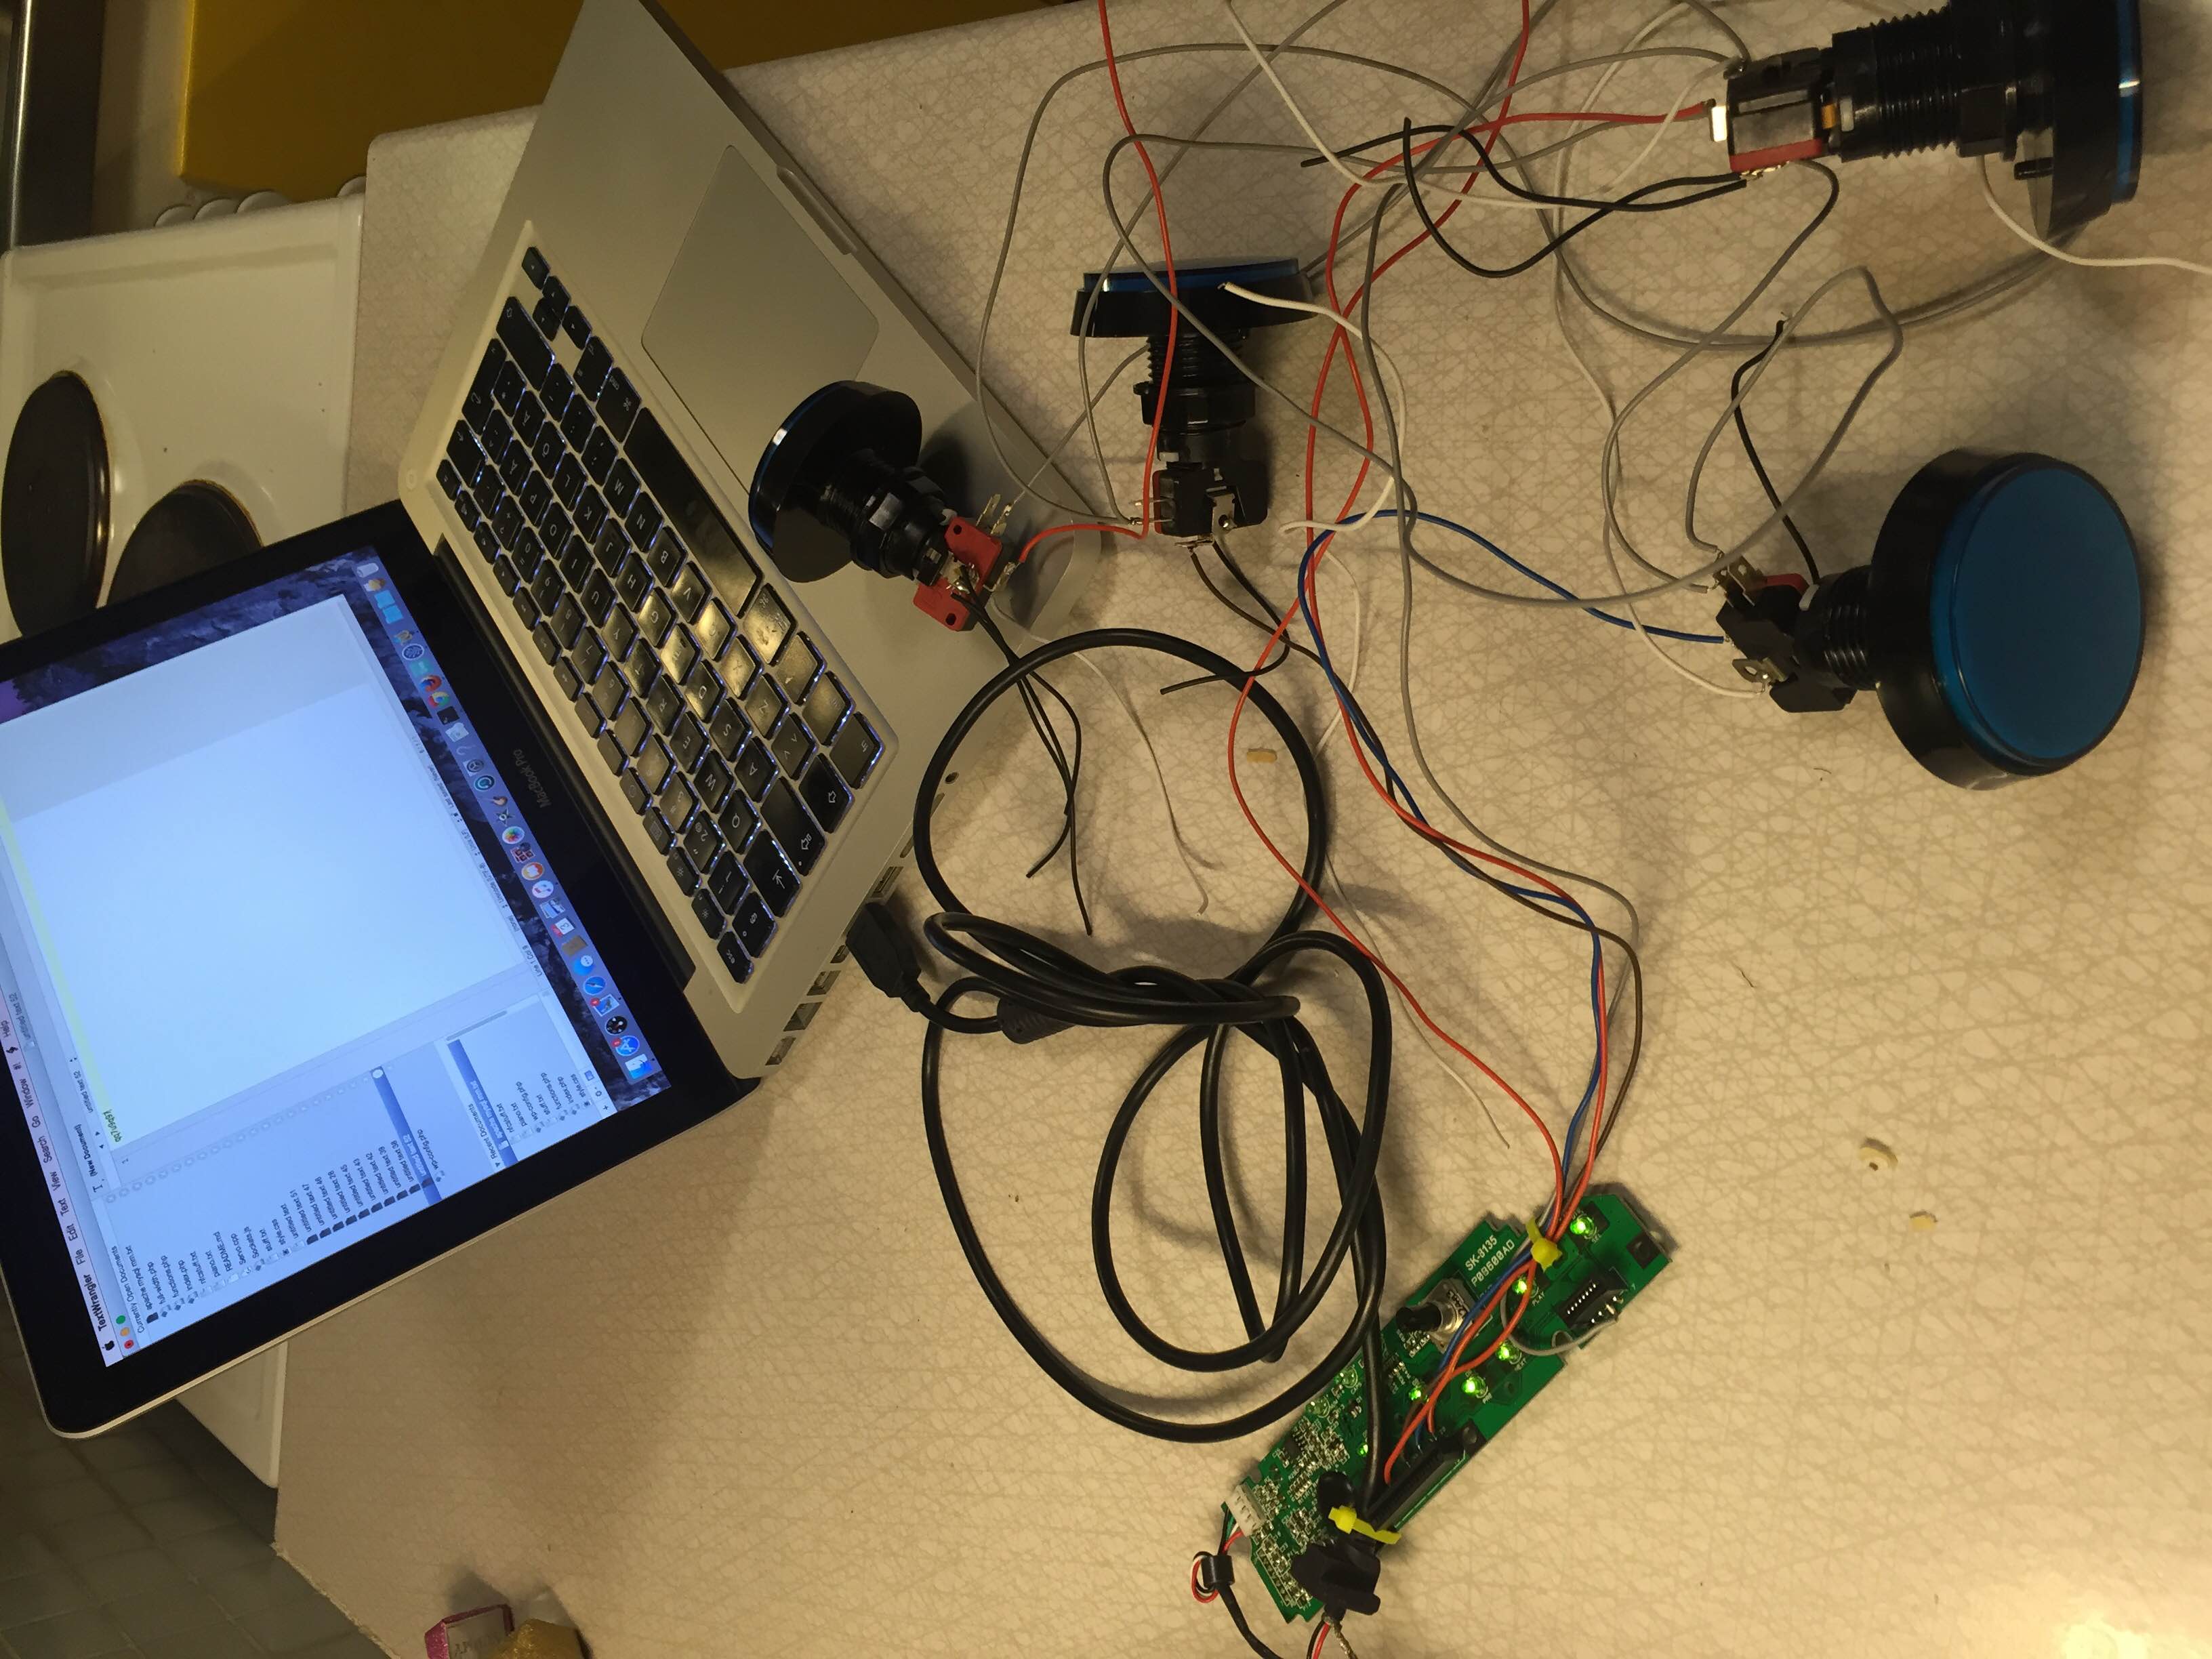
Connect the USB cable of the ripped out to a computer and place the cursor in a text editor. Take an eletrical wire and try shorting some rows and columns. In the text editor you should see characters being typed. For each row you should be able to type certain characters, for the next row other characters and so on.
Now you shall let your hardware buttons or switches do the shorting instead of you doing it manually. Solder one side of the switch to a row and the other to a column. When the switch closes the circuit a fake keystroke should be made. Using the whole alphabet and numbers will allow you to connect lots of buttons.
So, the next thing to do is to make your software application respond to these keystrokes. In a HTML/JavaScript application you can for example bind to the document.onkeypress event. In a nodejs application on a Raspberry PI you can read characters using process.stdin.
Example browser JavaScript code:
document.onkeypress = function (e) {
    e = e || window.event;
    console.log(e.charCode);
};
Here are some arcade buttons I used in an application:
Pretty neat!